Step 0 : configure emails for alarms (see how to create an alarm)
Step 1 : get some video files (see how to organize video files)
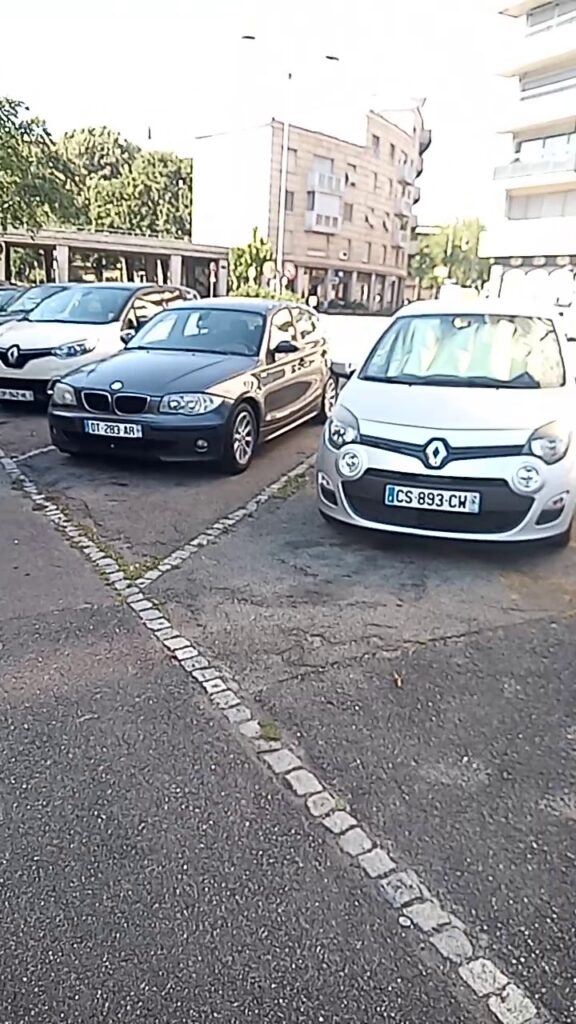
For instance, below is a video file taken (by a smartphone -> It’s strongly advisable to use a better camera to get decent results).
Step 2 : copy video files in aveditor’s video directory
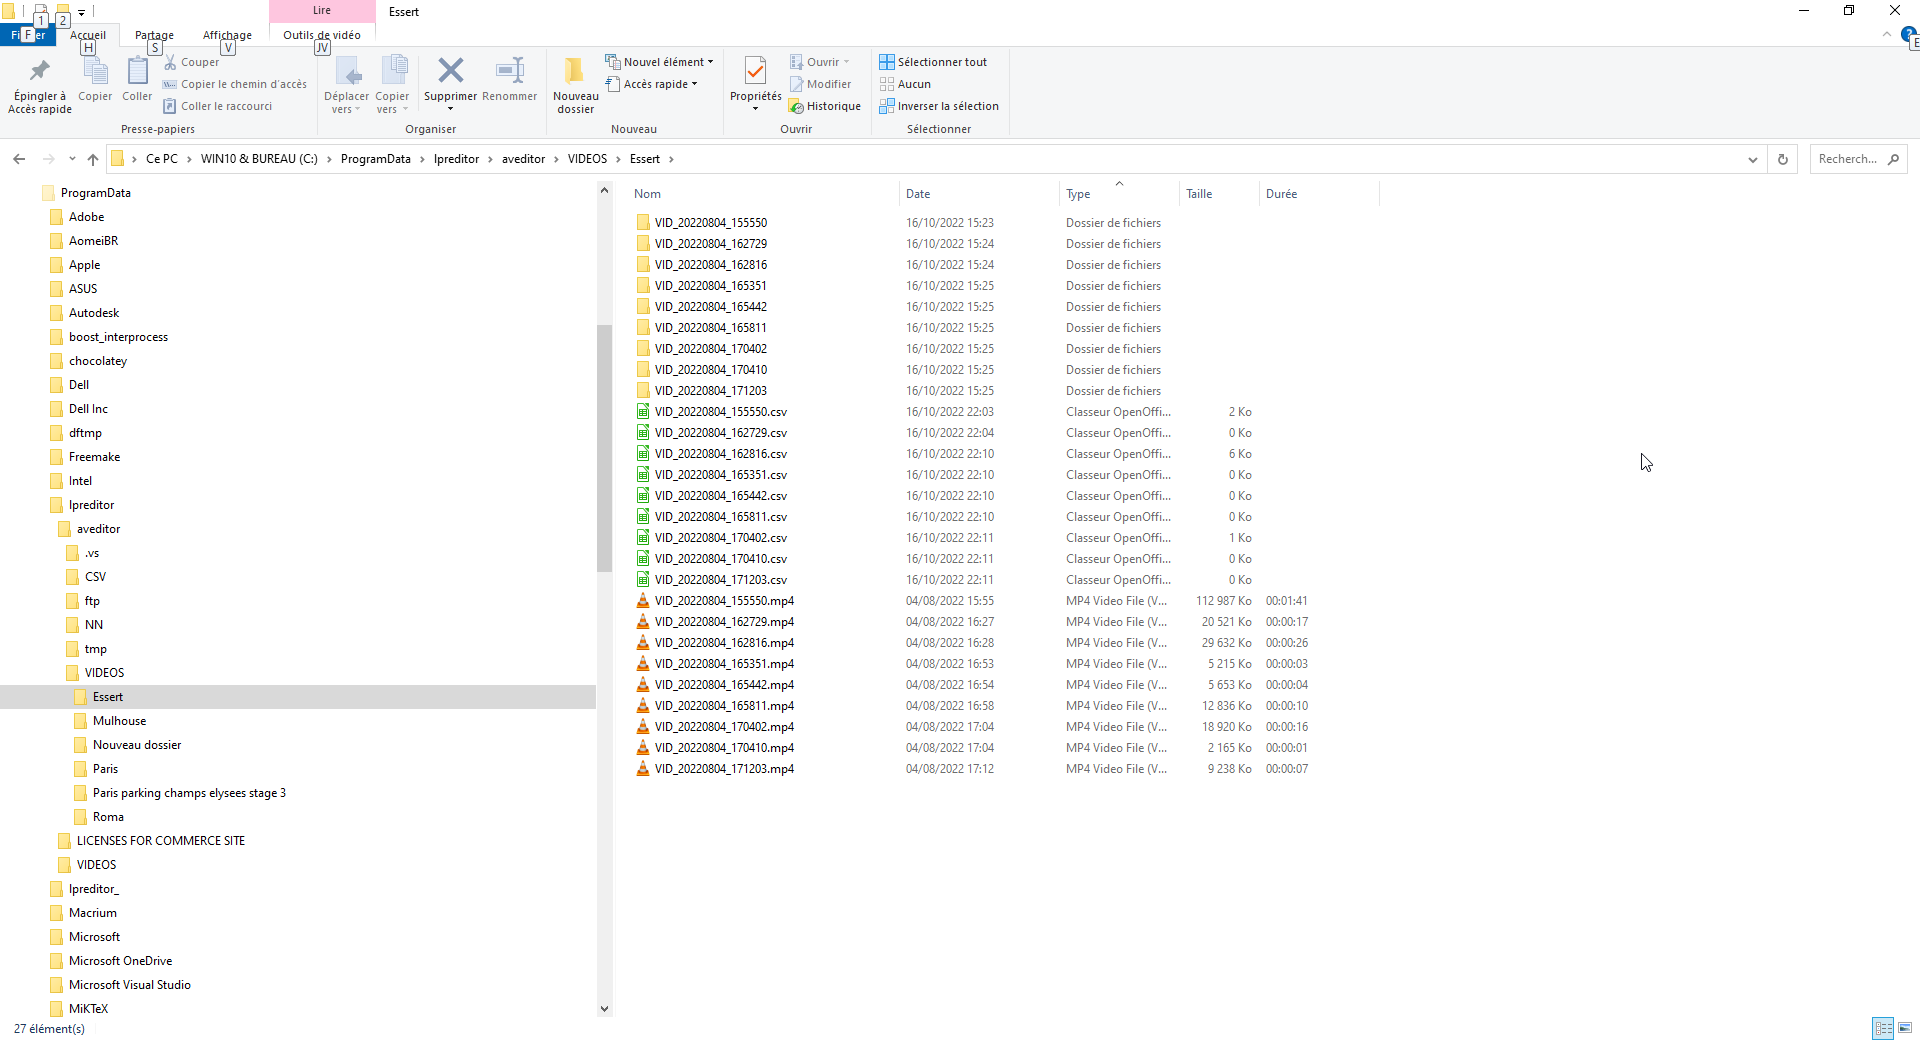
Aveditor software needs to know where these videos were filmed. This information is used internally by the engine and also by the user, to query the database. To inform Aveditor where the video comes from, the user create in aveditor’s video directory (C:\ProgramData\lpreditor\aveditor\VIDEOS.) a sub folder with the name of the place.
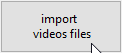
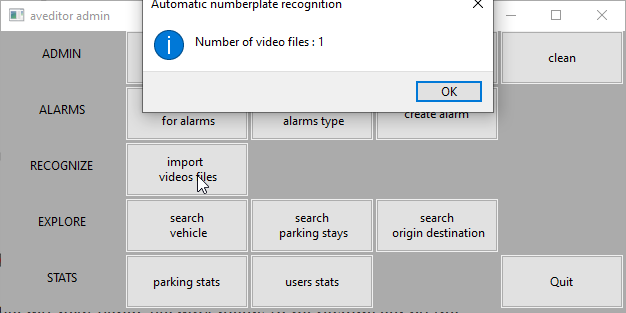
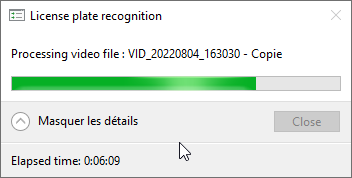
step 3 process recognition on the new video file inserted
It is time to apply automatic recognition with the new video file my_new_video_file.mp4. For that, the user will click the button “import video files”.

Step 4 : search for vehicles
See “How to search for vehicles” page
Get more general information on how to exploit aveditor, in case of parking management.